Art Project, Easy Art Project
Mono-prints are Easy
Mono-print Paint Project
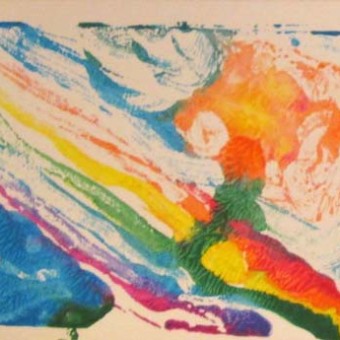
A mono-print is a print that is produced once, not in multiples. This method can be addictive and fun. It encourages experimentation and can yield great results quickly. This is a good project for all ages. If you are using acrylic paints, not tempera, encourage students to paint quickly so the paint doesn’t dry before it can be printed!

Materials you’ll need:
- 4 or more small pieces of acrylic sheet. 5” x 8” is a good size
- Thick paper like inexpensive watercolor paper cut to about the same size as the acrylic sheets
- White copy paper
- Acrylic paints or tempera paints
- Paper palette
- Brushes
- Water jar for brushes (clean mayonnaise jar)
- Sponge
- Old spoons
Mono-prints Steps:
- Place a piece of acrylic sheet on top of a piece of clean white copy paper (for a neutral background)
- Paint with brush on acrylic sheet
- Paint can be moved around with fingers, too
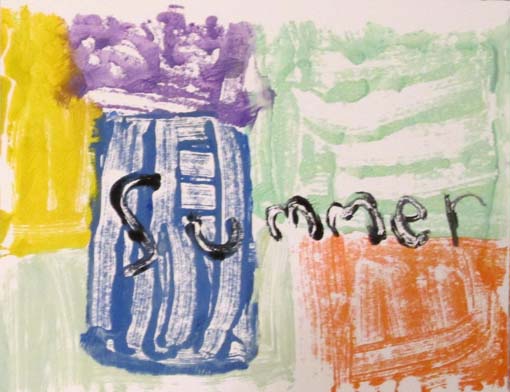
- Note any writing or design will print in reverse
- Place a sheet of paper over the wet painted acrylic sheet
- Hold firmly so it doesn’t slip and rub evenly back and forth from one side to the other with the back of the spoon
- Peel off the paper and set aside to dry
- Clean paint off acrylic sheet with sponge and water and dry it off
- Repeat steps. You can expect 5 or more prints from one session.
Mono-prints are sometimes called monotypes. This technique has been used by many artists over the years, from Rembrandt to Degas. In this project, each print is completely unique, though. Sometimes artists use a printing block or plate to produce unique variations of an image by manipulating the ink. Read more about printmaking techniques at https://en.wikipedia.org/wiki/Printmaking.
There are many different printing techniques including woodcut, engraving, etching, lithography and silkscreen. Before photography was developed in the late 19th century, many of these techniques were used to beautifully illustrate books and newspapers.

